How to Detail Your Car for a Professional Finish
September 12, 2025
Car detailing promises a showroom-worthy shine, but most people overlook the real reason their cars never quite reach that professional look. You might be surprised to learn that using at least 10 to 12 lint-free microfiber towels is considered standard by experts and skipping this step is a major reason for lackluster results. The real secret? It is not just about effort or fancy products. Getting that flawless finish starts long before you ever pick up a sponge.
Table of Contents
- Step 1: Gather Your Detailing Supplies
- Step 2: Prepare Your Car for Detailing
- Step 3: Wash and Rinse the Exterior Thoroughly
- Step 4: Clean and Condition the Interior
- Step 5: Polish and Wax the Exterior
- Step 6: Inspect and Finalize the Detailing Process
Quick Summary
| Key Point | Explanation |
|---|---|
| 1. Gather essential detailing supplies | Collect high-quality microfiber towels and specialized cleaning products for effective car detailing. |
| 2. Prepare your vehicle properly | Thoroughly clean and inspect your car before detailing to ensure an optimal surface for work. |
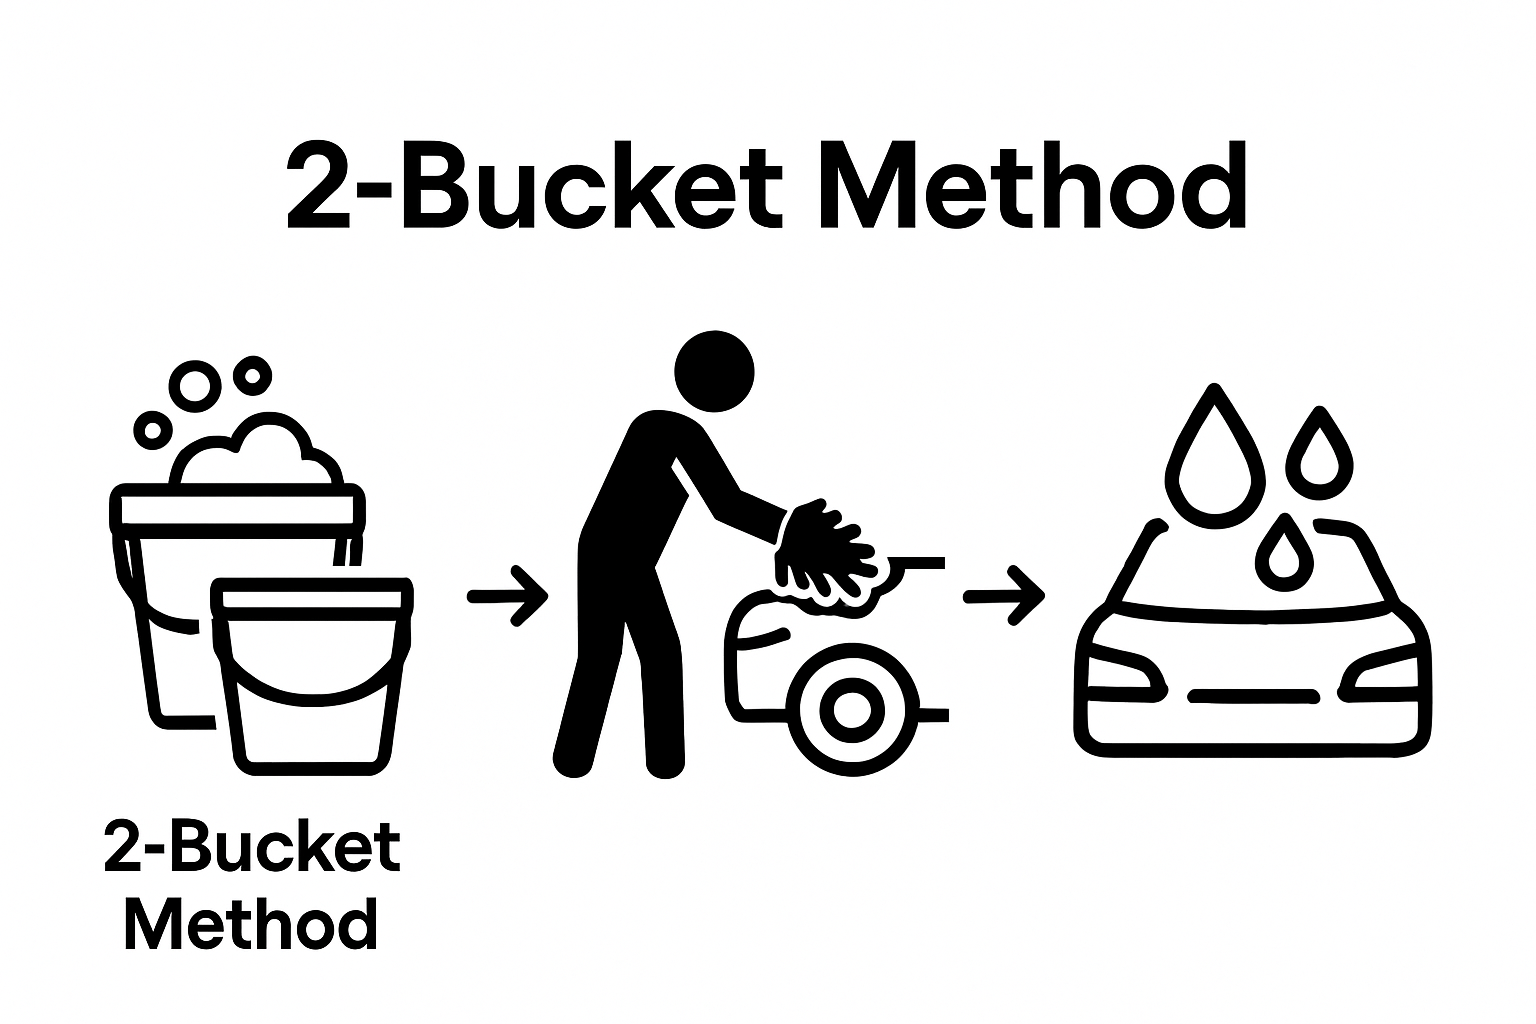
| 3. Utilize two-bucket wash method | This technique prevents dirt transfer and minimizes scratches during the exterior wash process. |
| 4. Use specialized cleaners for the interior | Select appropriate cleaning solutions for different materials to effectively preserve and maintain your car’s interior. |
| 5. Conduct a thorough final inspection | Inspect under varied lighting to identify any missed areas, ensuring a high-quality detailing finish. |
Step 1: Gather Your Detailing Supplies
Achieving a professional car finish starts with having the right tools and supplies at your disposal. Professional detailers know that preparation is key to transforming an ordinary vehicle into a showroom-worthy masterpiece. Before you begin the detailing process, you will need to assemble a comprehensive collection of cleaning and protection products that will help you achieve a stunning result.
Start by collecting your essential detailing toolkit. This includes microfiber towels, which are crucial for preventing scratches and providing a streak-free finish. Select high-quality, lint-free microfiber towels in various sizes - some for washing, some for drying, and others specifically for applying wax or polish. You will want at least 10-12 towels to ensure you have clean surfaces for each stage of detailing.
Next, gather your cleaning solutions. You will need a professional-grade car wash soap that is specifically designed for automotive surfaces. Avoid household cleaners or dish soap, which can strip protective coatings from your vehicle. Select a pH-neutral car wash solution that will effectively remove dirt without damaging your paint. Complement this with specialized cleaners for different surfaces: glass cleaner, wheel cleaner, and interior upholstery cleaner.
Your protective equipment is equally important. Acquire high-quality car wax or ceramic coating, depending on the level of protection you desire. Wax provides a temporary but brilliant shine, while ceramic coatings offer longer-lasting protection. You will also need applicator pads, which help apply these products evenly and smoothly.
Additional tools to collect include:
- Wash mitt or sponge
- Clay bar kit
- Detailing brushes
- Bucket with grit guard
- Compressed air or detail blower
By carefully selecting and preparing your supplies before starting, you set the foundation for a professional-level car detailing experience that will leave your vehicle looking pristine and protected.
The table below summarizes the essential tools and products needed for a professional car detailing job, along with their purpose and any key notes to help you prepare effectively.
| Item | Purpose | Notes |
|---|---|---|
| Microfiber towels (10-12) | Cleaning, drying, waxing, polishing | Lint-free, prevents scratches |
| Car wash soap (pH-neutral) | Safely removes dirt, protects paint | Avoid household/dish soaps |
| Wash mitt or sponge | Washing exterior surfaces | Use with two-bucket method |
| Clay bar kit | Removes bonded contaminants | Use before waxing for smooth finish |
| Detailing brushes | Cleans intricate and tight areas | Soft-bristle to avoid scratches |
| Bucket with grit guard | Minimizes scratch-causing dirt | Used for washing/rinsing phase |
| Car wax or ceramic coating | Provides shine and surface protection | Wax: temporary, Ceramic: long-lasting |
| Applicator pads | Even application of wax or polish | Use separate pads for each product type |
| Interior cleaning products | Cleans leather, upholstery, hard surfaces | Choose products specific to each material |
| Compressed air/detail blower | Dislodges debris from vents/crevices | Useful for interior and exterior details |
Step 2: Prepare Your Car for Detailing
Before diving into the intricate detailing process, preparing your car properly sets the stage for a professional-grade finish. This crucial step involves thoroughly cleaning and inspecting your vehicle to create an optimal surface for detailing. You want to remove all surface contaminants and assess your car’s current condition before applying any specialized treatments.
Begin by selecting an appropriate location for detailing. Choose a shaded area away from direct sunlight, which can cause cleaning products to dry too quickly and potentially damage your paint. Your workspace should be cool, well-ventilated, and free from dust or falling debris. If possible, work in a garage or covered area that provides consistent environmental conditions.
Next, perform a comprehensive pre-detailing inspection. Walk around your vehicle and carefully examine the paint surface, looking for scratches, swirl marks, or areas of oxidation. Check each panel systematically - hood, roof, trunk, side panels, and bumpers. This initial assessment helps you understand which areas will require more focused attention during the detailing process. Some imperfections might need specialized treatment beyond standard cleaning.
Prepare for a thorough initial wash by rinsing your car completely with a strong stream of water. This first rinse helps remove loose dirt, dust, and debris that could potentially scratch your paint during the detailed cleaning process. Use a high-pressure hose or nozzle attachment to ensure comprehensive coverage. Pay special attention to wheel wells, under the car, and areas prone to mud and grime accumulation.
Key areas to focus on during pre-detailing preparation:
- Remove all personal items from the vehicle
- Check tire pressure and condition
For those interested in understanding more about maintaining your vehicle’s appearance, check out our comprehensive vehicle maintenance checklist that provides additional insights into keeping your car in top condition. By meticulously preparing your vehicle, you create the perfect canvas for a professional-level detailing experience that will transform your car’s appearance.
Step 3: Wash and Rinse the Exterior Thoroughly
Washing your car is more than just removing dirt - it is a critical step in protecting your vehicle’s paint and preparing the surface for further detailing. A thorough exterior wash removes contaminants that can cause scratches, oxidation, and long-term paint damage. By following a systematic approach, you will ensure a clean, smooth surface ready for advanced detailing techniques.
Begin by filling two buckets - one with your car wash soap solution and another with clean rinse water. This two-bucket method prevents transferring dirt back onto the car and minimizes potential scratching. Start at the top of the vehicle and work your way down, using a high-quality microfiber wash mitt to gently clean each section. Move in straight, horizontal lines rather than circular motions to avoid creating swirl marks in the paint.
Pay special attention to typically neglected areas like wheel wells, behind license plates, and around trim pieces. These spots accumulate significant dirt and road grime that can accelerate paint deterioration. Use a soft-bristled brush for intricate areas, being careful not to apply excessive pressure that might scratch delicate surfaces. Rinse your wash mitt frequently in the clean water bucket to remove accumulated dirt before reloading with soap solution.
As you progress through washing, learn more about maintaining your vehicle’s appearance with our comprehensive maintenance guide. According to research from the University of Central Florida, proper washing techniques are fundamental to preserving your car’s exterior.
Rinse thoroughly using a steady stream of water, ensuring all soap is completely removed. Water spots can form if soap residue remains, so take your time and be thorough. Use a clean microfiber towel to gently pat the surface dry, avoiding rubbing motions that could introduce new scratches.
Verification steps for a successful wash:
- No soap suds remain on the vehicle
- Surface feels smooth and clean when touched
- No visible dirt or streaks remain
By meticulously washing your car, you create the perfect foundation for a professional-level detailing process that will leave your vehicle looking showroom-fresh.
Step 4: Clean and Condition the Interior
A truly professional car detailing goes beyond the exterior, transforming your vehicle’s interior into a pristine, comfortable space. Interior detailing involves more than just surface cleaning - it is about preserving materials, eliminating hidden dirt, and creating an environment that feels fresh and well-maintained. The goal is to restore your car’s interior to a condition that looks and feels almost like new.
Start by completely removing all items from the vehicle, including floor mats, personal belongings, and any loose debris. Thoroughly vacuum every surface, using attachment tools to reach into tight corners, under seats, and along dashboard crevices. Pay special attention to areas like seat tracks, air vents, and console compartments where dust and small particles tend to accumulate. Use a soft-bristled brush attachment to prevent scratching delicate surfaces while ensuring comprehensive cleaning.
For different interior materials, select specialized cleaning solutions. Leather surfaces require a gentle leather cleaner followed by a conditioning treatment that prevents cracking and maintains suppleness. Fabric seats and carpets need an upholstery-specific cleaner that lifts stains without saturating the material. Hard surfaces like the dashboard, console, and door panels benefit from a microfiber cloth and an interior detailing spray that cleans and provides UV protection. If you’re considering long-term vehicle maintenance, our guide offers additional insights.
According to research from the University of Central Florida, proper interior maintenance significantly extends the life and aesthetic appeal of your vehicle. Work systematically from top to bottom, allowing cleaning products to sit briefly before wiping to maximize their effectiveness. Use clean microfiber towels for each surface to prevent cross-contamination and achieve a streak-free finish.
Verification steps for a successful interior detail:
- No visible dust or debris remains
- Surfaces feel clean and smooth when touched
- No lingering cleaning product residue or odors
By meticulously cleaning and conditioning your car’s interior, you create a refreshed, professional-grade environment that enhances both comfort and vehicle value.
Step 5: Polish and Wax the Exterior
Polishing and waxing represent the transformative steps that elevate your car’s appearance from clean to absolutely stunning. These processes not only enhance your vehicle’s visual appeal but also provide critical protection against environmental damage. Think of polishing and waxing as giving your car a professional-grade armor that maintains its shine and defends against future wear.
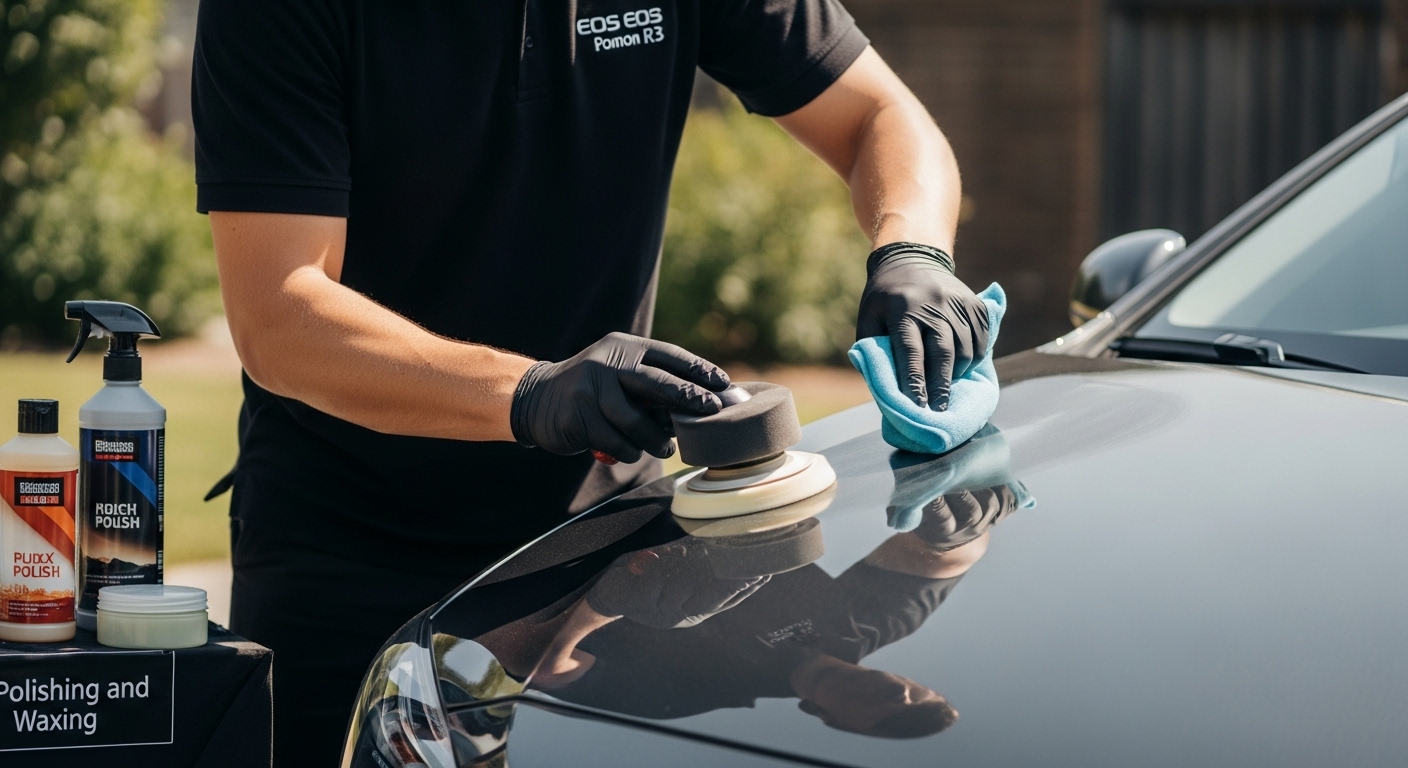
Begin by selecting the right polishing compound for your specific paint condition. Different levels of oxidation and scratching require varying degrees of abrasiveness. Use a foam applicator pad or microfiber cloth to apply the polish in small, manageable sections. Work in straight, overlapping lines rather than circular motions to prevent creating additional swirl marks. Apply moderate, consistent pressure and allow the polish to break down minor imperfections in the paint surface.
After polishing, which removes minor surface imperfections, it is time to apply a protective wax layer. Choose between carnauba wax or synthetic polymer sealants based on your desired durability and shine. Carnauba wax provides a deep, warm glow and is ideal for show cars, while synthetic sealants offer longer-lasting protection. Apply the wax using a clean, soft foam applicator, working in thin, even layers. Allow the wax to slightly haze before buffing with a clean microfiber towel.
According to research from the Ohio State University Extension, regular polishing and waxing not only improve aesthetics but also extend paint life significantly. For additional insights into maintaining your vehicle’s value, consider the long-term benefits of consistent exterior care.
Pay special attention to areas prone to oxidation and wear, such as horizontal surfaces exposed to direct sunlight. These areas require more meticulous polishing and may need multiple treatment passes to restore their original luster. Always work in a cool, shaded area to prevent product from drying too quickly and creating uneven application.
Verification steps for successful polishing and waxing:
- Surface feels smooth with no rough patches
- Paint reflects light evenly without swirl marks
- Water beads up and rolls off the surface
By carefully polishing and waxing your vehicle, you create a protective barrier that not only looks incredible but also shields your car’s paint from environmental damage.
Step 6: Inspect and Finalize the Detailing Process
The final step of professional car detailing is a comprehensive inspection that transforms your hard work into a showroom-worthy result. This crucial phase ensures every surface meets the highest standards of cleanliness, protection, and visual appeal. Think of this as your quality control moment - where you critically examine every inch of your vehicle to guarantee a truly professional finish.
Begin by examining the exterior under different lighting conditions. Natural daylight provides the most honest assessment of your detailing work. Walk around the vehicle, viewing it from multiple angles to catch any missed spots, remaining water spots, or uneven polish application. Use a clean microfiber towel to do final touch-ups, gently buffing any areas that seem slightly dull or have minor imperfections. Pay special attention to panel gaps, trim edges, and reflective surfaces where inconsistencies become most apparent.
Move to the interior, using bright light to inspect every surface. Check seat seams, dashboard corners, and hard-to-reach areas for any remaining dust or cleaning product residue. A final vacuum pass can help remove any last particles that might have been missed during earlier cleaning stages. Run your hand across surfaces to ensure a smooth, clean feel - this tactile check often reveals spots that visual inspection might overlook.
If you’re curious about understanding more about your vehicle’s history and potential previous conditions, learn how to thoroughly check a car’s background. According to research from the National Kidney Foundation, meticulous inspection is key to achieving a professional-grade result.
Prepare your final cleaning kit for touch-ups. Have quick-detail spray, microfiber towels, and interior cleaner nearby to address any last-minute imperfections. Some detailing professionals recommend a final water beading test on the exterior to verify the effectiveness of your wax or sealant application.
Verification checklist for a professional-level detail:
- No visible dust or streaks on any surface
- Consistent shine across entire exterior
- Interior surfaces feel clean and smooth
- Water beads up and rolls off exterior paint
By conducting a thorough final inspection, you elevate your car detailing from a simple cleaning to a professional-grade transformation that showcases your dedication and skill.
The checklist below helps verify that you have completed each key step successfully for a professional-level car detail, ensuring every area is addressed and nothing is overlooked.
| Area | Completion Criteria | Notes |
|---|---|---|
| Exterior Wash | No soap suds, smooth surface, no visible dirt | Check behind trim and lower panels |
| Interior Clean | No visible dust, smooth surfaces, no odors | Inspect vents and under seats |
| Polishing | Surface feels smooth, no swirl marks | Use appropriate polish for severity |
| Waxing | Paint reflects evenly, water beads up | Ensure full coverage, no missed spots |
| Final Inspection | No streaks, shine is consistent | Check under various lighting |
| Interior Final | All debris removed, product residue gone | Run hand across surfaces |
Make Your Car’s History Shine as Bright as Its Finish
You just learned how attention to detail transforms an ordinary car into something remarkable. But what about the car’s story? If you want a vehicle that looks stunning and has a track record you can actually trust, you need more than great cleaning supplies—you need transparency from the start.

At ReVroom, you get the full picture for every rebuilt title vehicle before you even pop the hood. We combine detailed vehicle listings with real accident history and photos of the car’s journey so you spend less time worrying and more time driving. Discover how our transparent listings help you avoid surprises and make smarter decisions today. Ready to find your next adventure? Visit ReVroom now and start shopping with confidence.
Frequently Asked Questions
What supplies do I need for detailing my car?
To detail your car effectively, gather essential supplies including microfiber towels, professional-grade car wash soap, a wash mitt or sponge, a clay bar kit, detailing brushes, and protective products like car wax or ceramic coating.
How should I prepare my car for detailing?
Before detailing, remove all personal items from the vehicle and thoroughly inspect it for scratches or imperfections. Wash your car to remove loose dirt and choose a shaded area to avoid direct sunlight that can damage your paint during the process.
What is the difference between car wax and ceramic coating?
Car wax provides a temporary shine and protection, typically lasting a few months, while ceramic coating offers long-lasting protection and durability, often lasting several years, making it a more robust option for paint protection.
How do I know if my car is properly polished and waxed?
After polishing and waxing, your car’s surface should feel smooth and reflect light evenly without any swirl marks. Conduct a water test; water should bead up and roll off the paint, indicating the effectiveness of the protection applied.
