Jump Starting Your Car: A Simple Step-by-Step Guide
September 13, 2025
Jump starting a car sounds simple, but one mistake can fry sensitive electronics or even injure you. Each year, thousands of vehicle fires are caused by improper jump starts. Most people think any set of cables and a friendly neighbor are all you need. Not true. The real secret is in the details—length of the cables, proper order, and safety steps you probably never learned. What most folks miss is that even slight missteps can ruin your vehicle or leave you stranded for good.
Table of Contents
- Step 1: Gather Essential Equipment For Jump Starting
- Step 2: Position The Vehicles For Safe Connection
- Step 3: Connect The Jumper Cables Correctly
- Step 4: Start The Working Vehicle And Charge The Dead Battery
- Step 5: Disconnect The Jumper Cables Safely
- Step 6: Verify And Test The Car’s Functionality
Quick Summary
| Key Point | Explanation |
|---|---|
| 1. Gather essential equipment first | Use high-quality jumper cables, a charged vehicle, gloves, and safety glasses for a safe jump start process. |
| 2. Position vehicles correctly | Ensure both vehicles are in park with brakes engaged and close together without touching for safe cable connection. |
| 3. Follow proper cable connection order | Connect cables in the right sequence to avoid electrical damage: positive to positive, negative to ground. |
| 4. Allow time for battery charging | Start the working vehicle first; let it run for 3-5 minutes to charge the dead battery adequately before starting it. |
| 5. Test vehicle functionality after starting | Check dashboard lights and electrical systems to confirm that the jump start was successful and the battery is functional. |
Step 1: Gather Essential Equipment for Jump Starting
Jump starting a car requires careful preparation and the right tools. Before attempting to revive a dead battery, you need to collect specific equipment that will help you safely restart your vehicle. The success of jump starting depends entirely on having the correct materials ready and understanding how to use them properly.
Essential Equipment List:
- Jumper cables (preferably 10-12 feet long with thick, high-quality copper wire)
- A functioning vehicle with a working battery
- Protective gloves (rubber or insulated)
- Safety glasses (recommended)
The most critical piece of equipment is a set of jumper cables. Not all jumper cables are created equal. Look for cables with robust clamps and thick gauge wire that can safely transfer electrical current between batteries. Professional mechanics recommend cables between 10 and 12 feet long, which provide enough flexibility to connect batteries from different vehicle positions.
Before beginning, confirm you have a second vehicle available with a charged battery. This vehicle will serve as the power source to restart your car. If you do not have access to another vehicle, portable battery jump starters have become an excellent alternative. According to Montana State University, keeping a portable jump starter in your emergency car kit can be a lifesaver when no other vehicle is nearby.
Personal safety is paramount during this process. Wear protective gloves to prevent potential electrical shock or battery acid contact. Safety glasses provide additional protection against potential sparks or battery acid splatter. While these might seem like extra precautions, they can prevent serious injuries during the jump starting process.
Once you have gathered all necessary equipment, perform a quick inspection. Check that your jumper cables have no exposed wire, the clamps are clean and free of corrosion, and your protective gear is in good condition. These preparatory steps ensure you are ready to safely jump start your vehicle and get back on the road quickly.
Step 2: Position the Vehicles for Safe Connection
Precise vehicle positioning is crucial for a safe and successful jump start. This step transforms your preparation into action, requiring careful attention to detail and strategic placement of both vehicles. Your goal is to create an optimal configuration that allows safe battery connection while minimizing potential risks.
Positioning Requirements:
- Vehicles must be close enough for jumper cables to reach both batteries
- Both vehicles should be in park (or neutral for manual transmissions)
- Parking brakes must be fully engaged
- Vehicles should not physically touch each other
When positioning vehicles, aim to park them as close together as possible without allowing them to make contact. Most jumper cables are between 10 and 12 feet long, so you will want the vehicles close but not touching. If you are in a parking lot or tight space, consider the turning radius and potential obstacles that might complicate positioning.
Orientation matters significantly. Position the vehicles so that their batteries are easily accessible and the cable lengths can comfortably stretch between them. For most sedans and smaller vehicles, this means parking at a slight angle that allows direct battery access. Avoid parking on an incline if possible, as this can create additional challenges during the jump start process.
According to Ohio State University Extension, both vehicle ignition switches must be completely off before attempting any connections. This prevents electrical surges and potential damage to the vehicle’s electronic systems. Double-check that all accessories like radios, phone chargers, and interior lights are switched off to reduce electrical load.
Once positioned, perform a final visual inspection. Confirm that you have clear access to both battery terminals, the parking brake is engaged, and the vehicles are in park or neutral. These preparatory checks ensure you are ready to proceed safely to the next step of connecting the jumper cables. Proper positioning is not just about convenience it is about creating a safe environment for jump starting your vehicle.
Step 3: Connect the Jumper Cables Correctly
Connecting jumper cables is a precise process that requires careful attention to detail and a specific sequence of actions. One wrong move can potentially damage both vehicles’ electrical systems or create a dangerous situation. Your goal is to create a safe electrical pathway that will transfer power from the working battery to the dead battery.
Cable Connection Order:
- First, connect the red positive (+) cable to the dead battery’s positive terminal
- Second, connect the other red cable to the good battery’s positive terminal
- Third, connect the black negative (-) cable to the good battery’s negative terminal
- Finally, connect the other black cable to an unpainted metal surface in the engine block of the car with the dead battery
Begin by identifying the battery terminals carefully. The positive terminal typically has a plus (+) sign or is colored red, while the negative terminal has a minus (-) sign or is colored black. Clean terminal connections are crucial. If you notice corrosion or dirt on the terminals, use a wire brush or cloth to clean them before connecting the cables.
When attaching the first red cable to the dead battery’s positive terminal, ensure a tight and secure connection. The clamp should grip the terminal firmly without wobbling. Next, connect the other end of the red cable to the positive terminal of the working battery. This creates the first part of the electrical circuit.
The black cable connection is slightly different. Instead of connecting directly to the dead battery’s negative terminal, attach the black cable to an unpainted metal surface in the engine block. This grounds the circuit and helps prevent potential sparks near the battery. Look for a solid metal bracket or mounting point away from the battery, fuel system, or moving parts.
According to University of Delaware, following this precise order is critical to prevent electrical system damage. Double-check each connection, ensuring they are tight and secure. Loose connections can create dangerous sparks or prevent the jump start from working effectively.
Once all cables are connected, take a moment to verify your work. The cables should form a clear, secure path from the good battery to the dead battery, with each connection snug and properly positioned. This careful preparation sets the stage for a successful jump start.

Step 4: Start the Working Vehicle and Charge the Dead Battery
With jumper cables securely connected, you are now ready to begin the charging process. This critical stage transfers electrical power from the working vehicle to the battery with a depleted charge. Patience and careful observation are key to successfully jump starting your vehicle.
Battery Charging Sequence:
- Start the working vehicle’s engine
- Allow the engine to run for 3-5 minutes
- Rev the engine slightly to increase electrical output
- Do not turn off the working vehicle during this process
Begin by starting the engine of the vehicle with the good battery. Let it run for approximately 3 to 5 minutes. This allows the alternator to generate sufficient electrical current and helps build up the charge in the dead battery. During this time, gently rev the working vehicle’s engine to about 2000 RPM. This increases the electrical output and can help speed up the charging process.
While the working vehicle is running, do not attempt to start the car with the dead battery immediately. Give the battery some time to absorb the electrical charge. Rushing this process can potentially damage both batteries or prevent a successful jump start.
After a few minutes, try starting the vehicle with the dead battery. If the engine does not start immediately, do not keep turning the key. This can damage the starter motor. Instead, wait another minute or two and try again. Sometimes batteries require a bit more time to receive enough charge to crank the engine.
According to Ohio State University Extension, allowing the working vehicle to run for 2 to 5 minutes before attempting to start the dead vehicle is crucial for successful battery charging. If the car with the dead battery starts, let both vehicles continue running for several minutes to help stabilize the electrical system.
Once your vehicle starts, keep it running. Do not turn off the engine immediately, as this could prevent the battery from maintaining its charge. The next step will involve carefully disconnecting the jumper cables and ensuring your vehicle remains operational.
Step 5: Disconnect the Jumper Cables Safely
Disconnecting jumper cables requires the same level of precision and care as connecting them. One wrong move can potentially create electrical sparks or damage sensitive vehicle electronics. Your goal is to remove the cables methodically and safely, ensuring both vehicles remain undamaged and operational.
Disconnection Sequence:
- Remove cables in the exact reverse order of connection
- Ensure both vehicles are still running
- Keep cables away from moving engine parts
- Handle clamps by their insulated handles
Begin by removing the black cable from the unpainted metal surface of the vehicle with the previously dead battery. Do not touch the clamp ends together or allow them to contact any metal surfaces. Next, remove the black cable from the negative terminal of the good battery. These initial steps help break the electrical circuit safely.
Then, remove the red cable from the positive terminal of the good battery. Finally, disconnect the red cable from the positive terminal of the previously dead battery. Throughout this process, maintain a steady hand and avoid sudden movements that could cause the cables to slip or create sparks.
Handle each cable carefully by its insulated handle. Modern jumper cables are designed with protective coating, but you should still exercise caution. Avoid letting the cable clamps touch each other or any metal surfaces during removal. If the clamps appear dirty or corroded, clean them with a dry cloth before storing.
According to Texas Department of Insurance, improper cable removal can create electrical hazards. After disconnection, keep both vehicles running for several additional minutes. This allows the previously dead battery to continue charging and stabilize its electrical system.
Once disconnected, inspect the battery terminals to ensure they are clean and free from corrosion. If you notice any buildup, consider using a battery terminal cleaner in the future. Store your jumper cables in a dry, accessible location in your vehicle for future emergencies. Remember, patience and careful attention to detail are your best tools when jump starting a vehicle.
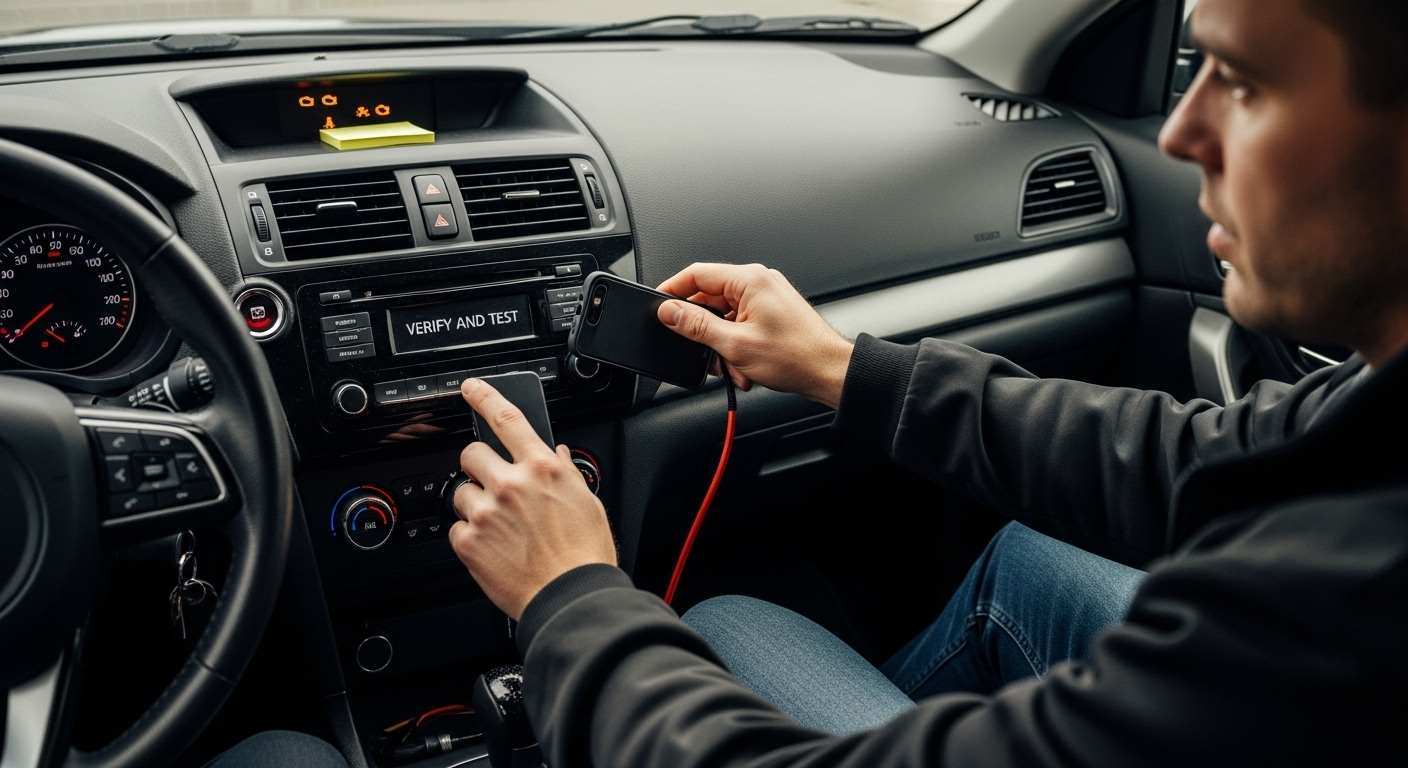
Step 6: Verify and Test the Car’s Functionality
After successfully jump starting your vehicle, a comprehensive verification process ensures that your car is truly ready to drive. This critical step helps prevent potential breakdowns and confirms that the battery has received sufficient charge to operate your vehicle’s electrical systems effectively.
Vehicle Functionality Checklist:
- Check all dashboard warning lights
- Test electrical systems like headlights and radio
- Listen for unusual engine sounds
- Drive short distance to confirm battery stability
Immediate Post Jump Start Observations
Begin by observing the dashboard. Warning lights are your first indicator of potential electrical or mechanical issues. If the battery or check engine light remains illuminated after jump starting, this could signal deeper problems with your vehicle’s electrical system. Modern vehicles have complex diagnostic systems that can provide crucial insights into battery health.
Test various electrical components to confirm the battery’s functionality. Turn on headlights and observe their brightness. Activate the radio, interior lights, and other electrical accessories. Weak or flickering lights might indicate that the battery has not fully charged or could be nearing the end of its useful life. If these systems appear weak or inconsistent, consider having your battery professionally tested.
Listen carefully to the engine during startup and while idling. Unusual sounds like clicking, grinding, or struggling could suggest ongoing battery or starter motor issues. A healthy battery will allow the engine to start smoothly and maintain a consistent idle. If you hear any irregular sounds, it might be wise to read more about checking your car’s accident history to understand potential underlying mechanical problems.
According to Brigham Young University-Idaho, it is recommended to drive the vehicle for a short distance immediately after jump starting. This helps recharge the battery and confirms its ability to maintain electrical charge.
 During this short drive, monitor the vehicle’s performance, paying attention to how smoothly it accelerates and maintains speed.
If your vehicle exhibits any persistent issues after jump starting, do not continue driving. Seek professional assistance to diagnose and resolve potential electrical or mechanical problems. Remember, a successful jump start is just the beginning of ensuring your vehicle’s reliability and safety.
Here is a checklist table to help you systematically verify your car’s functionality after jump starting and ensure readiness for driving.
| Checkpoint | What to Look For | Action if Issue Detected |
|---|---|---|
| Dashboard warning lights | All lights turn off after start | Investigate further or seek help if on |
| Headlights (brightness) | Bright and steady light | Test battery or alternator |
| Radio and electrical accessories | Function as normal | Inspect battery/charging system |
| Engine sounds | Smooth startup and idle | Listen for clicks/grinding; seek help |
| Short drive performance | Engine accelerates and holds speed | Pull over and get professional help |
| Battery terminal inspection | Clean, corrosion-free terminals | Clean and maintain terminals |
When Your Car Battery Needs a Fresh Start, So Might Your Ride
If jumping your battery brought your car back to life, think about what a second chance could do for your next vehicle. The step-by-step guide above helps you handle the setbacks of a dead battery with precision and confidence. But here is another reality car owners face: Getting back on the road is one thing, finding a car you can trust long-term is another. Too many buyers waste time, money, and hope investigating vehicle history and dealing with the unknown. You deserve solutions that are straightforward and full of transparency.

Here is where ReVroom sets itself apart. We offer rebuilt title vehicles that go the extra mile — with full accident history and repair photos included with each listing so you can see exactly what you are buying. With ReVroom’s marketplace, you get access to thoroughly documented cars that help you avoid guesswork and risk. Ready for your own restart? Visit ReVroom today to find a vehicle that is road-tested for new beginnings.
Frequently Asked Questions
What equipment do I need to jump start my car?
You will need jumper cables, a functioning vehicle with a working battery, protective gloves, and safety glasses. Jumper cables should preferably be 10-12 feet long with thick, high-quality copper wire.
What is the correct order to connect jumper cables?
Connect the red positive (+) cable to the dead battery’s positive terminal first, then to the good battery’s positive terminal. Next, connect the black negative (-) cable to the good battery’s negative terminal and finally to an unpainted metal surface in the engine block of the car with the dead battery.
How long should I let the working vehicle run before starting the dead vehicle?
Let the working vehicle run for 3 to 5 minutes to allow the alternator to generate enough electrical current to charge the dead battery. Optionally, gently rev the engine to increase electrical output.
What should I do if my car doesn’t start after jump-starting?
If your car doesn’t start after a few attempts, wait a minute and try again. If it still doesn’t start, there may be deeper issues, and it’s best to seek professional assistance.
