Effective Summer Car Maintenance for 2025 Vehicle Buyers
September 9, 2025
Getting your car ready for summer is more than just swapping out winter tires and topping off your washer fluid. The blazing sun and high temperatures can turn minor car issues into major summer headaches. Shockingly, over 40 percent of summer vehicle breakdowns are linked to neglected maintenance checks. Most drivers worry about roadside emergencies, but the real surprise is how many problems can be avoided with a few simple inspections. You might think prepping for summer is just a box to check off the list, yet a proper checkup could be your ticket to smooth travels and peace of mind long before the first heatwave hits.
Table of Contents
- Step 1: Inspect Your Vehicle’s Fluids and Levels
- Step 2: Check and Replace Worn Tires
- Step 3: Examine the Battery and Electrical System
- Step 4: Clear the Cooling System and Radiator
- Step 5: Test the Air Conditioning and Cabin Filters
Quick Summary
| Key Point | Explanation |
|---|---|
| 1. Check All Vehicle Fluids | Inspect engine oil, brake fluid, coolant, and transmission fluid to ensure proper functionality and prevent breakdowns. |
| 2. Inspect and Test Tire Conditions | Ensure tire tread depth, pressure, and overall condition to enhance safety and performance during summer driving. |
| 3. Assess Battery and Electrical Systems | Examine battery terminals and test battery voltage to avoid electrical failures, especially in high summer temperatures. |
| 4. Maintain Cooling System | Visually inspect and flush the cooling system to prevent overheating, ensuring efficient engine temperature regulation. |
| 5. Verify Air Conditioning Functionality | Test AC and cabin air filters to ensure consistent cooling and clean air, enhancing comfort during hot weather drives. |
Step 1: Inspect Your Vehicle’s Fluids and Levels
Preparing your vehicle for summer requires a comprehensive fluid inspection that goes beyond a simple quick check. Summer heat can dramatically impact your car’s performance, making this initial maintenance step critical for preventing potential breakdowns and ensuring smooth operation.
Essential Summer Fluid Checks
Begin your inspection by gathering a few basic tools: clean white rags, gloves, and a flashlight. Proper fluid maintenance starts with understanding each system’s unique requirements. The National Highway Traffic Safety Administration recommends checking multiple critical fluid reservoirs, each playing a crucial role in your vehicle’s health.
Start with engine oil, the lifeblood of your vehicle. Pull out the dipstick, wipe it clean, then reinsert and remove again to get an accurate reading. The oil should appear amber or light brown, without visible debris or grit. Low or dirty oil can cause significant engine stress, especially during high-temperature summer driving. Pro tip: If the oil looks dark or feels gritty, schedule an oil change before embarking on summer road trips.
Next, examine brake fluid, power steering fluid, and coolant levels. Each reservoir has clear markings indicating minimum and maximum levels. Low brake fluid can compromise stopping power, while insufficient coolant increases the risk of engine overheating. Check these reservoirs when the engine is cool and parked on a level surface for the most accurate readings.
Transmission fluid requires careful attention. Unlike engine oil, transmission fluid should be checked with the engine running and transmission in park or neutral. The fluid should appear clean and bright, without any burning smell or dark coloration. Discolored transmission fluid signals potential internal wear and might require professional inspection.
Windshield washer fluid is often overlooked but crucial for summer driving. Dust, insects, and road grime accumulate quickly during summer travels. Ensure the reservoir is full with a fluid that can withstand high temperatures. Check out our guide on vehicle maintenance essentials for more detailed insights into keeping your car in top condition.
Finally, verify battery fluid levels if you have a non-sealed battery. Summer heat accelerates battery fluid evaporation, potentially leading to decreased performance or unexpected failures. Wear protective gloves and eyewear when checking battery fluid, and top off with distilled water if levels are low.
Verification is key. After completing your fluid checks, look for these signs of successful maintenance: stable fluid levels, clean and clear fluids, no visible leaks underneath the vehicle, and no warning lights on your dashboard. A thorough fluid inspection takes approximately 15-20 minutes and can save you from costly repairs and unexpected breakdowns during summer driving season.
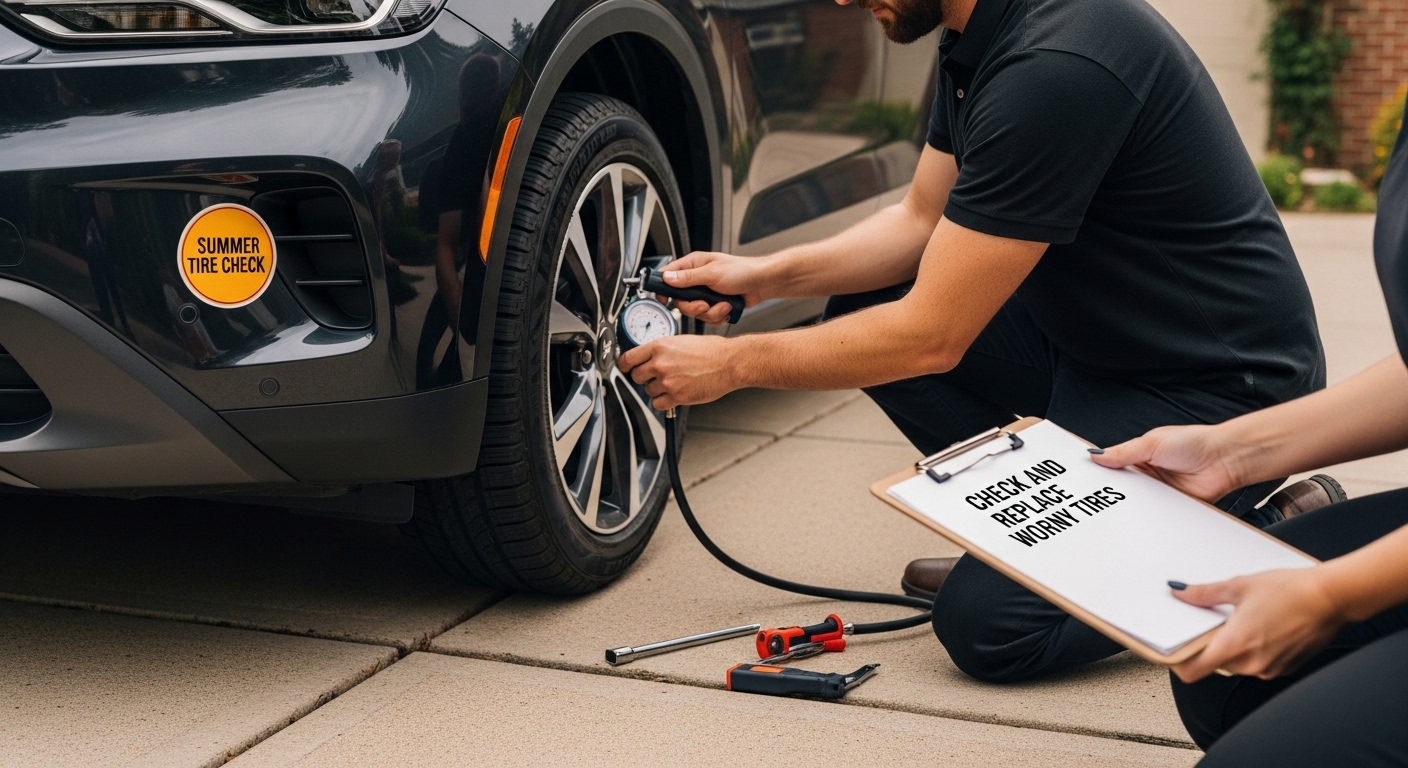
Step 2: Check and Replace Worn Tires
Tire maintenance is a critical safety component of summer car preparation, directly impacting your vehicle’s performance, fuel efficiency, and road handling. Summer heat amplifies existing tire wear, making a comprehensive tire inspection essential before hitting the road.
Tire Inspection Techniques
Begin your tire inspection by gathering a few simple tools: a tire pressure gauge, a tread depth gauge or penny, and work gloves. Proper tire maintenance requires systematic and thorough examination. The National Highway Traffic Safety Administration emphasizes the importance of regular tire checks to prevent potential roadside emergencies.
Start with the tread depth assessment. Insert a penny into the tire tread with Lincoln’s head facing downward. If you can see the top of Lincoln’s head, your tire tread is dangerously low and requires immediate replacement. Professional mechanics recommend replacing tires when tread depth reaches 2/32 of an inch or less. Pro tip: Uneven tread wear can indicate alignment or suspension issues that need professional evaluation.
Next, conduct a visual inspection for signs of damage. Look for cuts, bulges, cracks, or objects embedded in the tire sidewall. Summer heat can exacerbate existing tire damage, increasing the risk of blowouts. Pay special attention to the sidewalls, where structural integrity is most vulnerable. Rotate your tires to check areas typically hidden from immediate view.
Tire pressure is another crucial factor. Check the recommended PSI (pounds per square inch) listed on the driver’s side door jamb or vehicle manual. Inflate or deflate tires to match these specifications. Summer temperatures cause tire pressure to fluctuate more dramatically than in cooler months. Underinflated tires increase fuel consumption and reduce vehicle handling, while overinflated tires are more susceptible to punctures and uneven wear.
Consider the age of your tires. Even with minimal wear, tires older than six years can deteriorate internally. Check the tire sidewall for a four-digit DOT code indicating manufacture date. The first two digits represent the week, and the last two represent the year. Tires manufactured more than six years ago should be professionally assessed or replaced, regardless of visual condition.
Verification is key. After completing your tire inspection, look for these signs of successful maintenance: consistent tread depth across all tires, no visible damage, proper inflation, and no dashboard warning lights. A thorough tire inspection takes approximately 20-30 minutes and can prevent costly roadside emergencies during summer driving.
Remember, tire maintenance is not just about replacement but about understanding your vehicle’s specific needs. Each mile driven is an opportunity to protect your investment and ensure safe travels.
Step 3: Examine the Battery and Electrical System
Summer heat can be particularly harsh on your vehicle’s electrical system, making a comprehensive battery and electrical component inspection crucial for preventing unexpected breakdowns. Your car’s electrical system is its lifeline, powering everything from essential engine functions to comfort features.
Battery Health and Electrical System Assessment
Begin your electrical system inspection by gathering some basic tools: a multimeter, protective gloves, safety glasses, and a wire brush for cleaning battery terminals. Proper battery maintenance goes beyond a simple visual check. According to the U.S. Department of Energy, understanding your vehicle’s electrical components can significantly extend their operational life.
Start with battery terminal inspection. Look for white or greenish corrosion around the battery terminals, which indicates potential electrical connection problems. Use the wire brush to gently clean any corrosion, ensuring a clean metal-to-metal contact. Check that battery cables are tightly secured without any visible cracks or fraying. Loose or damaged cables can cause intermittent electrical failures, especially during high-temperature summer driving conditions.
Next, perform a voltage test using a multimeter. With the engine off, a healthy battery should read between 12.4 and 12.7 volts. If the reading falls below 12.2 volts, your battery might be approaching the end of its useful life. When starting the car, observe how quickly and strongly the engine turns over. Slow or hesitant starts could indicate battery weakness or alternator issues.
Examine the alternator belt for signs of wear. Look for cracks, glazing, or fraying along the belt’s surface. A worn belt can prevent proper charging and lead to battery drainage. Press the belt with your thumb slightly it should have minimal give. Excessive slack or visible damage means replacement is necessary.
Check all electrical accessories to ensure smooth operation. Turn on headlights, interior lights, air conditioning, and radio. Dim lights or inconsistent performance can signal underlying electrical system problems. Pay special attention to dashboard warning lights these are your vehicle’s primary communication method for potential issues.
For rebuilt title vehicles, electrical system inspection becomes even more critical. Dive deeper into vehicle inspection techniques to understand nuanced electrical system assessments specific to rebuilt vehicles.
Verification is key. After completing your electrical system check, look for these signs of successful maintenance: clean battery terminals, stable voltage readings, responsive electrical accessories, and no dashboard warning lights. A thorough electrical system inspection takes approximately 30-45 minutes and can prevent costly repairs during summer travels.

Remember, your vehicle’s electrical system is a complex network of interconnected components. Treating it with regular care ensures reliability and peace of mind on the road.
Step 4: Clear the Cooling System and Radiator
Summer temperatures can transform your vehicle’s cooling system into a critical battleground of heat management. A clean and well-maintained radiator and cooling system are your primary defense against potential engine overheating, ensuring reliable performance during the hottest months of the year.
Comprehensive Cooling System Maintenance
Prepare for your cooling system inspection by gathering essential tools: a plastic funnel, distilled water, coolant, protective gloves, safety glasses, and clean white rags. Proper cooling system maintenance requires methodical and careful approach. According to the National Highway Traffic Safety Administration, proactive cooling system care is fundamental to preventing expensive engine damage.
Begin your inspection with a visual examination of the radiator and surrounding components. Look for any visible signs of leakage, such as green or orange fluid puddles underneath the vehicle or crusty residue around hose connections. Coolant leaks can quickly escalate from minor nuisances to major mechanical failures. Check all radiator hoses for signs of cracking, bulging, or excessive softness these are early indicators of potential system breakdown.
Carefully remove the radiator cap only when the engine is completely cool. Never attempt to open a hot radiator, as pressurized steam can cause severe burns. Inspect the cap’s rubber seal for signs of deterioration or hardening. A compromised radiator cap can lead to pressure loss and inefficient cooling. Examine the coolant reservoir, ensuring the fluid level sits between the minimum and maximum markers.
Perform a coolant flush to remove accumulated debris and old fluid. Drain the existing coolant into a proper container for disposal. Modern vehicles typically require a specific mixture of antifreeze and distilled water usually a 50/50 blend. Pro tip: Consult your vehicle’s manual for the exact coolant specification, as different makes and models have unique requirements.
While flushing the system, inspect the radiator fins. Use compressed air or a soft brush to remove dust, insects, and debris that can impede airflow. Blocked radiator fins reduce cooling efficiency, potentially leading to engine overheating. Pay special attention to the areas around the fan and air intake, where debris tends to accumulate most rapidly.
Learn more about comprehensive vehicle maintenance strategies to ensure your cooling system remains in top condition throughout the summer months.
Verification is key. After completing your cooling system maintenance, look for these signs of successful service: clean radiator fins, proper coolant level, no visible leaks, and no dashboard warning lights. A thorough cooling system inspection and flush takes approximately 45-60 minutes and can prevent costly engine repairs.
Remember, your vehicle’s cooling system is its temperature regulation lifeline. Treating it with respect and regular maintenance ensures you stay cool and confident on the road during summer’s most challenging driving conditions.
Step 5: Test the Air Conditioning and Cabin Filters
Summer driving demands a fully functional air conditioning system that provides cool comfort and clean air. Your vehicle’s AC and cabin filters are the first line of defense against heat, humidity, and airborne contaminants, making their maintenance crucial for both comfort and health.
Air Conditioning Performance and Filter Inspection
Begin your AC system assessment by gathering a few basic tools: a thermometer, work gloves, and a flashlight. Proper air conditioning maintenance requires systematic and thorough examination. According to the National Highway Traffic Safety Administration, a well-maintained AC system is essential for safe and comfortable summer driving.
Start by turning on the air conditioning and setting it to the coldest setting. Listen carefully for any unusual sounds like grinding, squealing, or clicking these could indicate compressor or blower motor issues. Pro tip: The system should begin cooling within 30 seconds of activation. If it takes longer or doesn’t cool effectively, you might have a refrigerant leak or compressor problem.
Measure the air temperature at the center dashboard vents using a thermometer. The air should be 15 to 20 degrees cooler than the outside temperature. If the temperature difference is minimal, your system might need professional servicing. Check for consistent airflow across all dashboard vents. Uneven cooling can signal blockages in the air distribution system or failing components.
Locate and inspect the cabin air filter, typically found behind the glove compartment or under the dashboard. Remove the filter and hold it up to a light source. A clean filter should allow light to pass through. If the filter appears dark, clogged with debris, or shows signs of moisture damage, it requires immediate replacement. Dirty filters reduce AC efficiency and can harbor allergens and potentially harmful microorganisms.
Examine the air conditioning vents for dust accumulation. Use a soft brush or compressed air to gently remove debris. Pay special attention to the vent louvers and surrounding areas. Blocked vents can restrict airflow and reduce cooling performance. Visible dust or musty odors indicate it’s time for a thorough cleaning.
Explore our comprehensive vehicle maintenance guide for more detailed insights into maintaining your vehicle’s air conditioning system.
Verification is key. After completing your AC and filter inspection, look for these signs of successful maintenance: quick and consistent cooling, clean cabin filter, clear airflow from all vents, and no unusual sounds or odors. A thorough air conditioning system check takes approximately 30-45 minutes and can prevent discomfort during summer road trips.
Below is a checklist table summarizing key verification steps after each summer maintenance task to help ensure your vehicle is prepared for summer conditions.
| Maintenance Area | Verification Step | Signs of Success |
|---|---|---|
| Vehicle Fluids | Inspect levels, look for leaks | Stable, clean fluids; no leaks or warning lights |
| Tire Condition | Check tread, pressure, and visible damage | Even tread, proper inflation, no damage |
| Battery & Electrical | Test voltage, check terminals, operate accessories | Stable voltage, clean terminals, no warning lights |
| Cooling System | Inspect hoses, radiator, coolant level | Clean fins, correct coolant level, no leaks |
| Air Conditioning & Filter | Test cooling, examine cabin filter, check airflow | Quick cooling, clean filter, no odors |
Remember, your vehicle’s air conditioning system is more than a comfort feature it’s a critical component of your driving experience.
Consult this tools and materials table to prepare everything needed for efficient summer vehicle maintenance, matching each main checklist area to its respective required equipment.
| Maintenance Task | Required Tools/Materials | Purpose/Use |
|---|---|---|
| Check Fluids | Clean rags, gloves, flashlight | Fluid inspection and safe handling |
| Inspect Tires | Tire pressure gauge, tread gauge/penny, gloves | Measure pressure and tread, safe handling |
| Battery/Electrical Inspection | Multimeter, wire brush, gloves, safety glasses | Voltage testing, terminal cleaning, safety |
| Cooling System Maintenance | Funnel, coolant, distilled water, rags, gloves | Refill/flush system, leak cleanup, protection |
| Air Conditioning & Cabin Filter | Thermometer, flashlight, gloves | Measure AC output, inspect filters |
Go Further This Summer With ReVroom-Ready Confidence
Summer brings bright skies and long drives, but it also means your car needs to be at its best. You just learned how critical fluids, tires, batteries, and air conditioning are to safe summer journeys. Yet, if you are eyeing a vehicle with a rebuilt title, there is one big challenge: Knowing what lurks beneath the hood and beneath the surface can keep even the most thorough DIY mechanic up at night. Getting real answers used to mean costly reports and second-guessing every photo.

Upgrade your summer search by getting upfront access to verified accident history, detailed repair photos, and transparent listings at ReVroom. Every rebuilt title vehicle on our marketplace comes with the facts you need so you can check for what matters—no guesswork, no expensive surprises. Ready for your next adventure? Forget the old way of buying and discover a smarter path to savings, clarity, and a car that truly goes the distance. Your best drive is just a click away.
Frequently Asked Questions
How often should I check my vehicle’s fluids during summer?
It’s recommended to check your vehicle’s fluids at least once a month during the summer months, especially if you plan on taking long road trips.
What are the signs of worn tires that I should look for?
Significant signs of worn tires include low tread depth (less than 2/32 of an inch), visible damage such as cuts or bulges, and uneven wear patterns.
How can I tell if my car’s air conditioning system is working properly?
You can test your AC’s performance by turning it on to the coldest setting and measuring the temperature at the dashboard vents; it should be 15 to 20 degrees cooler than the outside temperature.
What should I do if my battery shows signs of corrosion?
If you notice corrosion around the battery terminals, clean it gently with a wire brush, ensuring a solid metal-to-metal contact, and check the battery’s voltage with a multimeter.
